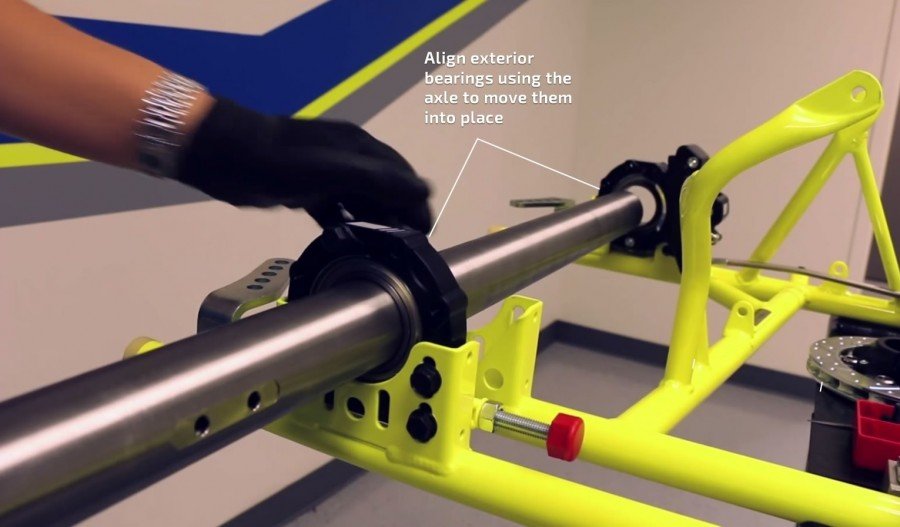
If you are running the third bearing, you’ll need to remove it for the initial install process. This will help you align the outer bearings with each other via the axle when you slide it through.
Begin by sliding your axle through the engine side first. As you go to push it through the brake-side bearing, feel for tightness. If it’s tight, it could mean misalignment or a bur on the end of the axle. But because we’ve already filed down the set screw marks, there should be no bur on our axle. At this point, pull the axle out and we’ll try pushing it through from the brake side.
From the brake-side bearing, stop your axle just before it meets up with the engine-side bearing. If it appears aligned with the bearing, go ahead and push it through. If not, go ahead and lean on the axle a little bit and try to get the bearing on the brake-side to align itself better with the engine-side bearing. If the bearings are aligned, your axle should slide through without any hesitation.
Now that our bearings are aligned, you can go ahead and re-install the third bearing if you’re using one. You should also install your external water pump belts and brake rotor and sprocket at this time. Don’t forget your brake hub keyway!
At this time your kart’s axle is pretty well fitted. You’ll want to make sure your axle is centered to the chassis. You’ll want to take a measurement from outside the bearing cassette to the outside of the axle on the same side. That measurement should be equal on both sides. Luckily for us, we’ve installed our axle previously so it has set screw marks from the first time. We’ll align our set screw marks with our set screw holes and reuse them.
To finish the job, go ahead and fix your external hubs back on where you had them.
In Summary:
Rear Axle Removal
1. Take your time
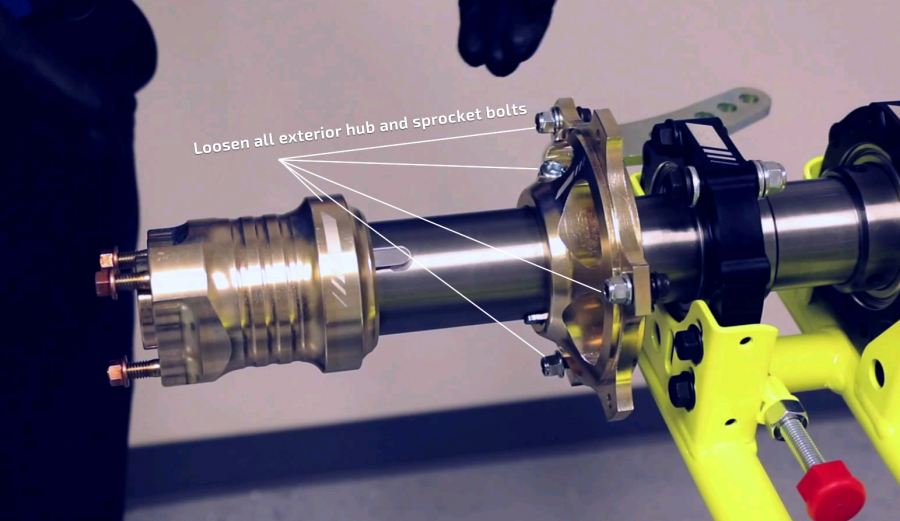
2. Loosen the proper items on the axle: hub bolts, sprocket hub bolts, third bearing bolts if applicable, brake rotor bolts that fix it to the hub
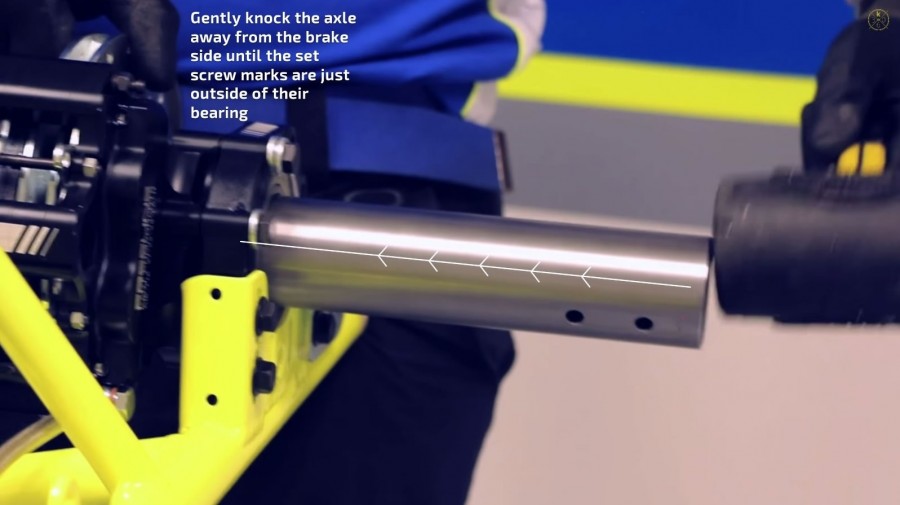
3. Gently tap the axle away from the brake side until your set screw marks are just outside of their bearing
4. File down your set screw marks and any other burs you may see
5. Pull your axle through, removing the brake rotor and keyway, and possibly a water pump belt in the process.
Installation
1. Remove your third bearing if applicable, and align your exterior bearings with each other via the axle.
2. Reinstall the third bearing and water pump belt if applicable, as well as the brake rotor and keyway.
3. Center your axle with your chassis by measuring from the outside of your bearing cassette with the outside of the axle on the same side.
4. Reinstall your external hubs.
